Download Phlox Pro
After purchasing Phlox Pro, you can find and download it just like the below instruction:
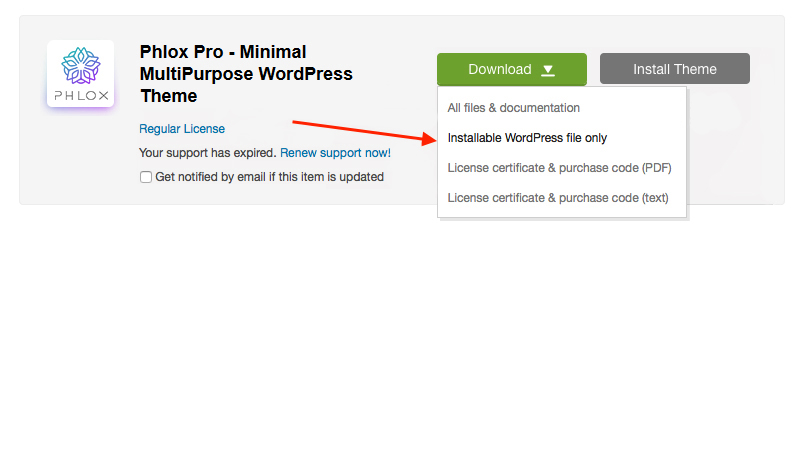
- Hover over your username on Themeforest
- Click Downloads from the menu
- Click Download next to the Phlox Pro
- Select Installable WordPress file only
Now you have the zip file of Phlox Pro.
If you download the whole package, you need to extract it to access the secondary Phlox-Pro.zip.
Note: The name of the full package zip file is not Phlox and it is the old name of the theme, Lotus. Do not worry, you have downloaded the correct file.
Video Tutorial
Install by Uploading Phlox Pro File via WordPress Admin Panel
Installing Phlox Pro theme, is similar to installing any other WordPress theme on your website. After downloading Phlox Pro, you can upload the theme file directly, in WordPress dashboard. If you downloaded the full package, you can install it by following the below steps:
- Extract the zip file you have downloaded
- Find theme folder
- Copy phlox-pro.zip?somewhere, like desktop
- Login to the WordPress Admin Panel
- Select?Appearance > Themes?on the Dashboard
- Click on Add New
- Click the Upload Theme on the top left
- Select the phlox-pro.zip file
- After uploading it, click on Activate
If you download only installable WordPress files, it is easier:
- Login to the WordPress Admin Panel
- Select?Appearance > Themes?on the Dashboard
- Click on Add New
- Click the Upload Theme on the top left
- Select the phlox-pro.zip file
- After uploading it, click on Activate
Now Phlox Pro is activated on your website.
Install by?Uploading Phlox Pro File via FTP
In this method, you can install Phlox by using an FTP client like Filezilla, FireFtp, and?Cyberduck.
- Use?an FTP client to access your host web server
- Create a directory and name it “phlox-pro” in the wp-content/themes Directory provided by WordPress
- Upload the zip file of Phlox Pro?to the new directory on your host server
- Extract the zip file and delete the zip file
- Login to the WordPress Admin Panel
- Select?Appearance > Themes?on the?Dashboard
- Roll over the Phlox Pro thumbnail image
- Click the Activate button to activate theme
Note: If you want to know more about installing Phlox Pro via FTP or Filezilla, please take a look at this article.