Another page builder plugin that is compatible with Phlox theme and Phlox Core Elements plugin, is Elementor Page Builder.
It is one of the newest page builders lets you create and customize a page easily. It lets you create different responsive pages such as home, contact, about us, or any other page you need.
This visual page builder, allows you to create a page with sections and add columns with different widgets to your page content. Inside each section, you have columns, and it is possible to drag columns and widgets into the same section or moving them between different sections. Each section is draggable, too. Beside drag and drop feature, almost everything is customizable and you can change attributes such as margin, padding, column width, content position, background color etc. via the page builder. On pro version of Elementor, you are able to write custom CSS on pro version of Page Builder.
To install Elementor Page Builder Plugin:
- Go to your?WordPress Admin Panel
- Click?Phlox?on the Dashboard Sidebar
- Navigate?Recommended Plugins?tab
- Install Elementor
To install?Phlox Elements:
- Go to your?WordPress Admin Panel
- Click?Phlox?on the Dashboard
- Navigate?Recommended Plugins?tab
- Install Auxin Elements
You can take a look at this documentation to install all of the Recommended Plugins for Phlox.
After installing, Page Builder adds an extra tab to the standard WordPress editor.?To find this tab and create a page or post with Page Builder:
- Go to your WordPress Admin Panel
- Click the Pages?on the Dashboard
- Click the Add New
- Navigate to the top left hand of the WordPress text-box and find?Edit with Elementor?button.
Elementor Options
On the right side of your page, you will see the editing screen. There you can add and edit elements, or even choose a layout for your page. Elementor panel is on the left side.
You can use the available widgets to add elements on your chosen structure of columns, or choose one of the prebuilt templates or block designs.
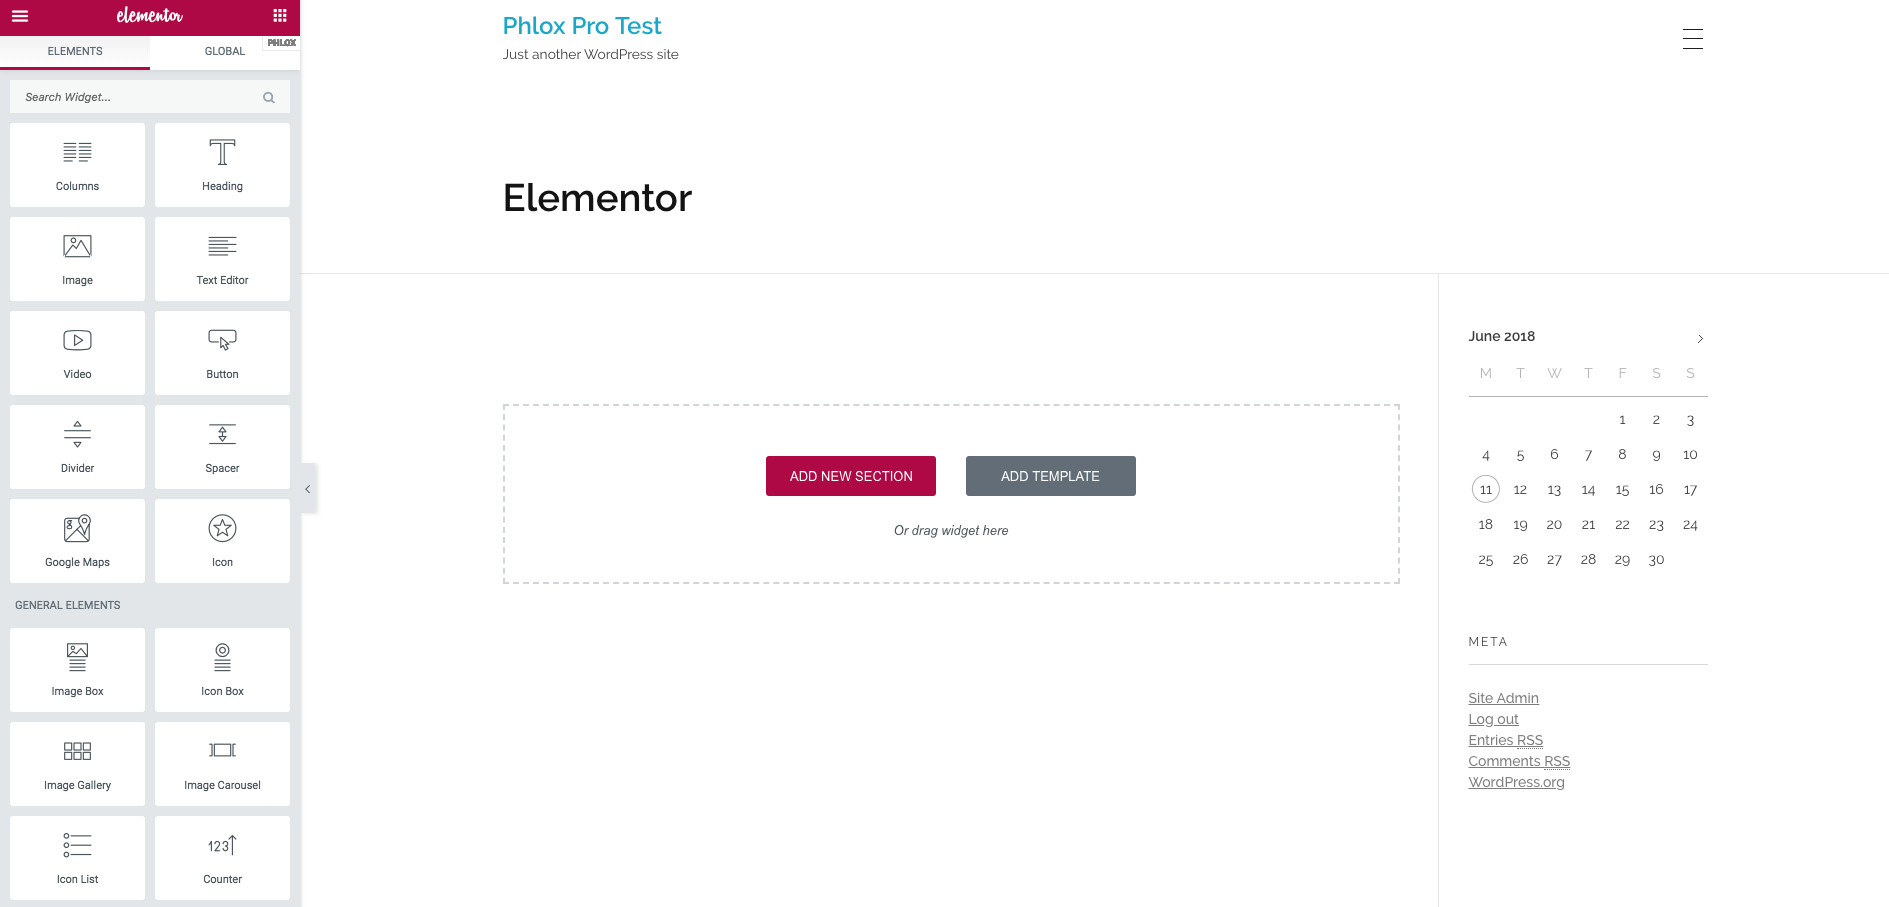
Elementor Editing Screen
Add New Section
As we mentioned, with this page builder you can make your page of?sections,?columns, and?widgets.
You can add new section and choose a column structure. Then you can drag widgets from Elementor panel to the columns.
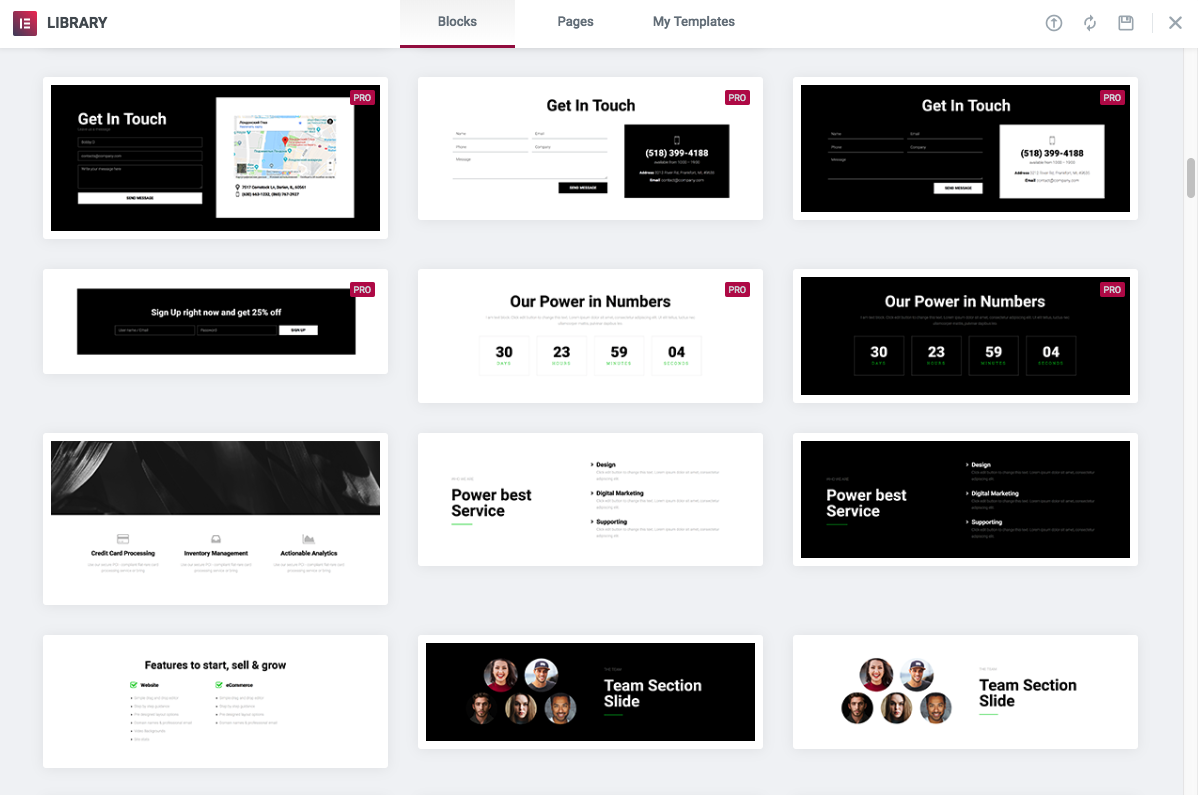
Inserting a Template
Template Library is accessible on Elementor editing screen. Click Add Template button. The popped up window contains three tabs: Blocks, Pages,?and My Templates.
On the first tab, there are some pre-made sections and you can choose one of them instead of select a columns structure yourself.
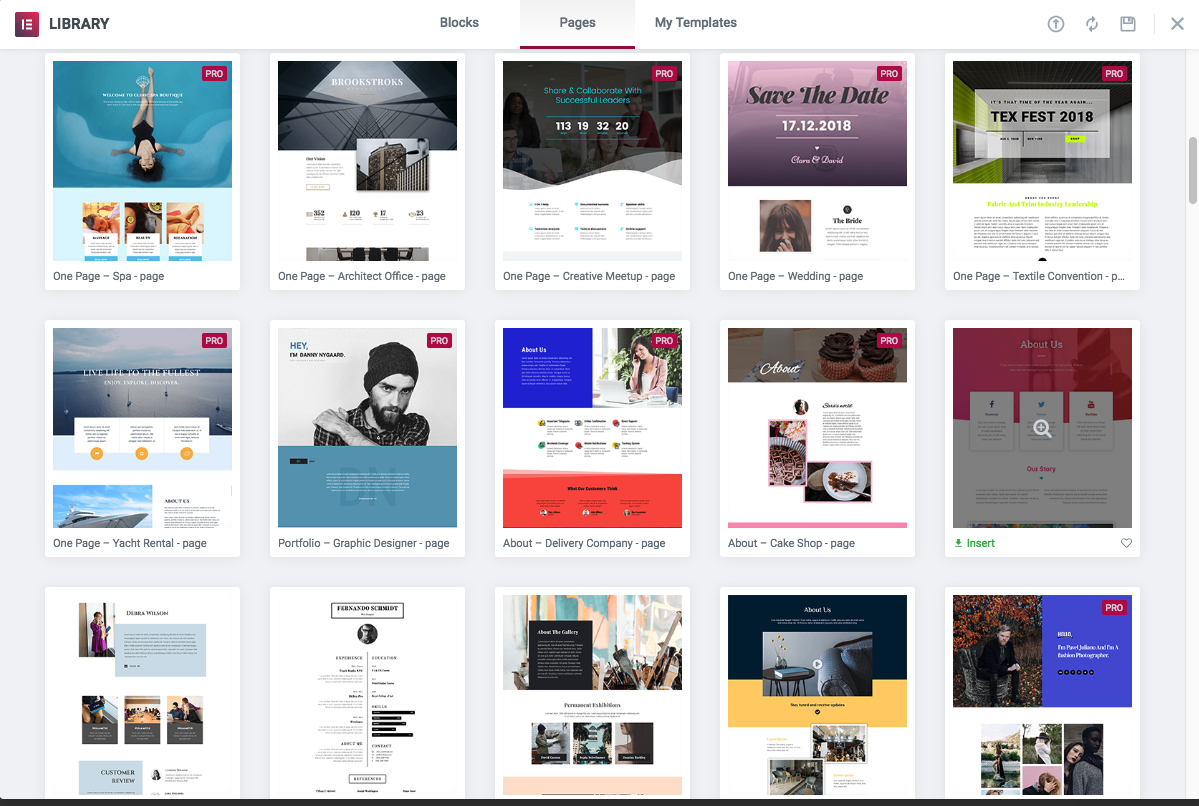
Many pre-designed templates are available on the Pages tab. Before you add a template, you can preview your desired template by hovering on thumbnail, then click on the little magnifying icon. To add the template, you can click on the INSERT button on the top right of its preview page. Or you can directly insert the template without previewing on the library.
The third tabs is for your saved templates. preview, delete, and export JSON file to import and reuse it on another website. To import your template on another website, you can do that with Elementor Settings on WordPress Dashboard on backend.
Save Pages or Sections as Template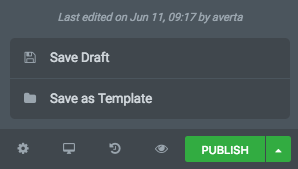
To have your entire work as a template, you need to save it. On bottom right side of the panel, you can see the PUBLISH button. Click on the tooltip to see Save Options and save your page as template for further use. You can save your page as a template with publish button on the Elementor panel. Give your template a name and save it. Then it will be automatically added to My Templates area.
To save a specific section, you can hover over it and select the save icon. Name this section and save it to add it to My Templates area.
Elementor Panel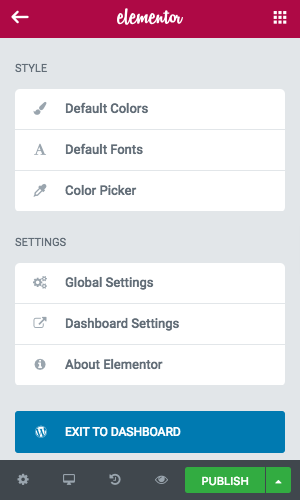
There are plenty of widgets on the Elementor Panel that you can use them on your page by dragging them into the sections or columns. You can simply drag and drop each element inside the same section/column, or move them into another section/column. Beside available elements, Elementor has some settings. In the top left hand corner, you can find a burger icon. There are advanced configurations here that relate to the entire website, not to the individual pages. So you can change the global defaults here.
Style
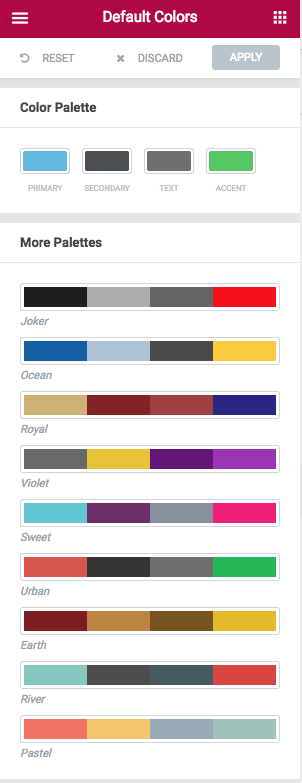
 Default Colors
On this section, you can see your website color palette. Also, there are some suggested palettes you can use instead of your current color palette.
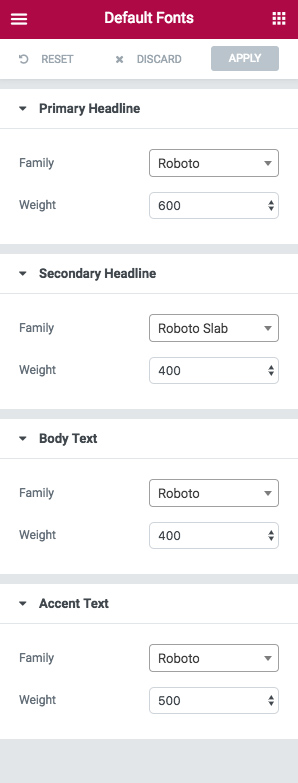
Default Fonts
This option lets you change your website font. You can change font family and font weight of headlines and body.
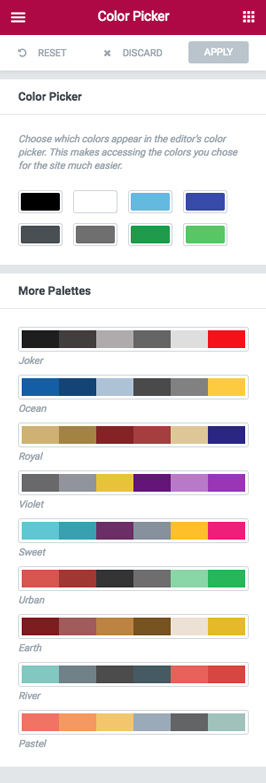
Color Picker
With this option, you are able to select some colors to show in the editor’s color of each option and widget. You can do this to save time.
Settings
Global Setting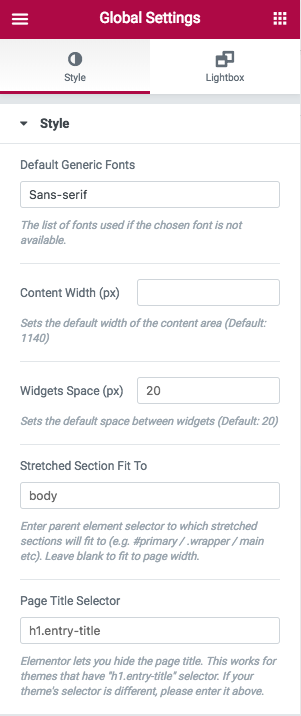 s
s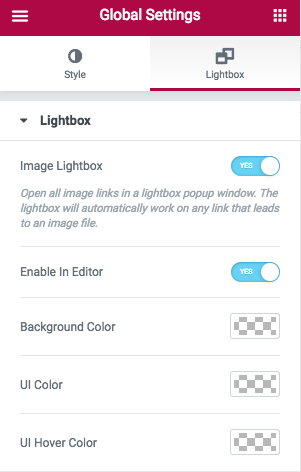
This section has two tabs: Style?and Lightbox
On Style tab, you will find some options to change the default width of content area, or the default space between widgets. Also, you can set a default generic fonts, stretched section fit to, and page title selector.
On Lightbox tab, you can enable image lightbox on any link that leads to an image file, or enable lightbox in editor. Also, you can customize its background color, UI color, and UI hover color.
Dashboard Settings
To access Elementor settings on WordPress Admin Panel, you can click on dashboard settings.
About Elementor
About Elementor gives you more information about this plugin.
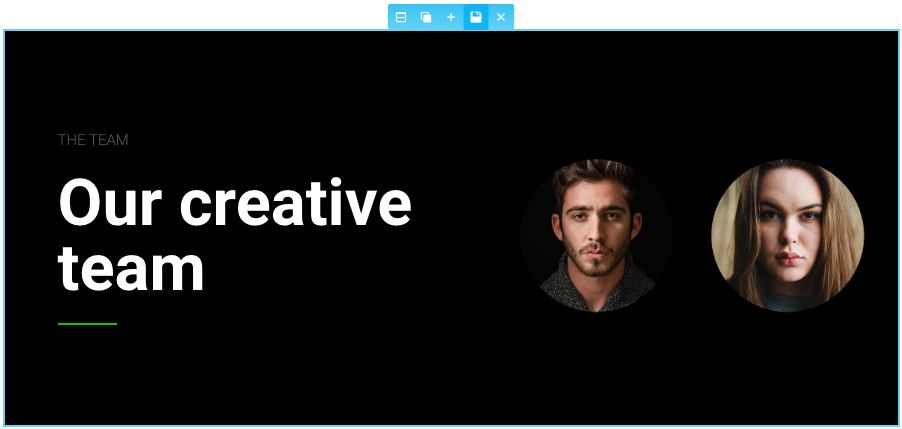
Section Options
You can find some options to change on each section. Just hover over a section to see a blue line indicator. There are 6 icons to customize your section: Edit Section, Duplicate Section, Add Section, Save Section, Remove Section

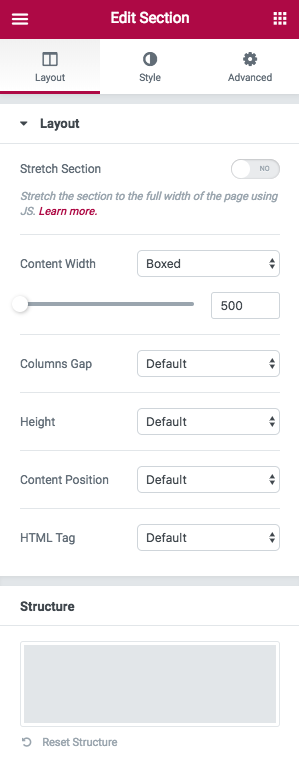
Edit Section
Stretch Section
Enable this option to make a full-width section.
Content Width
The width of content can be Boxed or Fullwidth. Also, you are able to change it manually by toggling the amount or type your desired value.
Columns Gap
You can change the columns gap, too: Default, No Gap, Narrow, Extended, Wide, Wider
Height
The height of your section can be Default, Fit to Screen, Min Height. If you choose min height, you are able to manually change the min height.
Content Position
This option lets you to change the position of content. Default, Top, Middle, and Bottom are available positions.
HTML Tag
HTML Tag of the section, can be changed to div, header, footer, article, section, aside, nav
Style
Background and Background Overlay
Section background can be Normal or Hover. Also, it can be Gradient, too. If you want, you are able to add Image as a background.
Border
You can have Normal or Hover border and change the color. Beside, you can change the style of it to Solid, Double, Dotted, Dashed, and Groove. Other options are Border Radius and Box Shadow.
Shape Divider
There are almost 20 available Shape Divider and you can add it to Top or Bottom of your section, Flip and Invert it or Bring it to Front. The Color and Height are editable, too.
Typography
With this option, you can change typography parameters:?Text Alignment, and the color of section Heading, Text, Link, and?Link Hover.
Advanced
Advanced
On advanced tab, you can change Z-Index,?Margins and Paddings of the section. , Z-Index, There are many?Entrance Animation to add to the section.?Also, you can write CSS ID and CSS Classes on advanced tab.
Responsive
Responsive options let you Reverse Columns. It means you can choose to reverse the order of your columns on mobile.
You can choose to Hide your section on Desktop, Mobile, or Tablet.
Custom CSS
This option is available for pro users of Elementor.
Note: Duplicate, Add, and Remove are available for columns, too. Also, each widget have some options. You can take a look at Phlox Elements Options to know more.